Sunday Morning Brownies

Awwwwww Sunday morning!  Perfect day and perfect weather.  What could be better?  Maybe a Sunday morning with grand kids after a sleepover.  If you know anything at all about me or about Sydney you know that we cannot get together without baking.  This morning is no exception.  The only question is what to bake?!  I’m open to anything that includes chocolate as an ingredient.

— Nana

Okay, so I know what you are thinking when you hear the word “homeade.”  That sounds like a lot of work, but trust me, it’s worth it! First things first, let me get a few things straight, one: if you are part of our family, you love chocolate. Two: if you love chocolate, then you love brownies. So, I have I the perfect recipe for all of you chocoholics out there. This particular brownie recipe is one that my Nana and I have used since I was little and if there is one thing that I can promise you about these brownies, it’s this: they are the best homeade brownies that you will ever make. So, let’s stop talking and see how we make these decadent brownies.

— Xoxo, Sydney

Brownies (Mark Bittman)

2 oz. unsweetened chocolate, roughly chopped

8 tbs. (1 stick) unsalted butter

1 cup sugar

2 eggs

1/2 cup flour

Pinch salt

1/2 tsp. vanilla extract

  1. Preheat the oven to 350 degrees F. Grease an 8-inch square baking pan, or line it with aluminum foil and grease the foil.
  2. Combine the chocolate, and butter in a small saucepan over very low heat, stirring occasionally. When the chocolate is just about melted, remove the mixture from the heat and continue to stir, until the mixture is smooth.
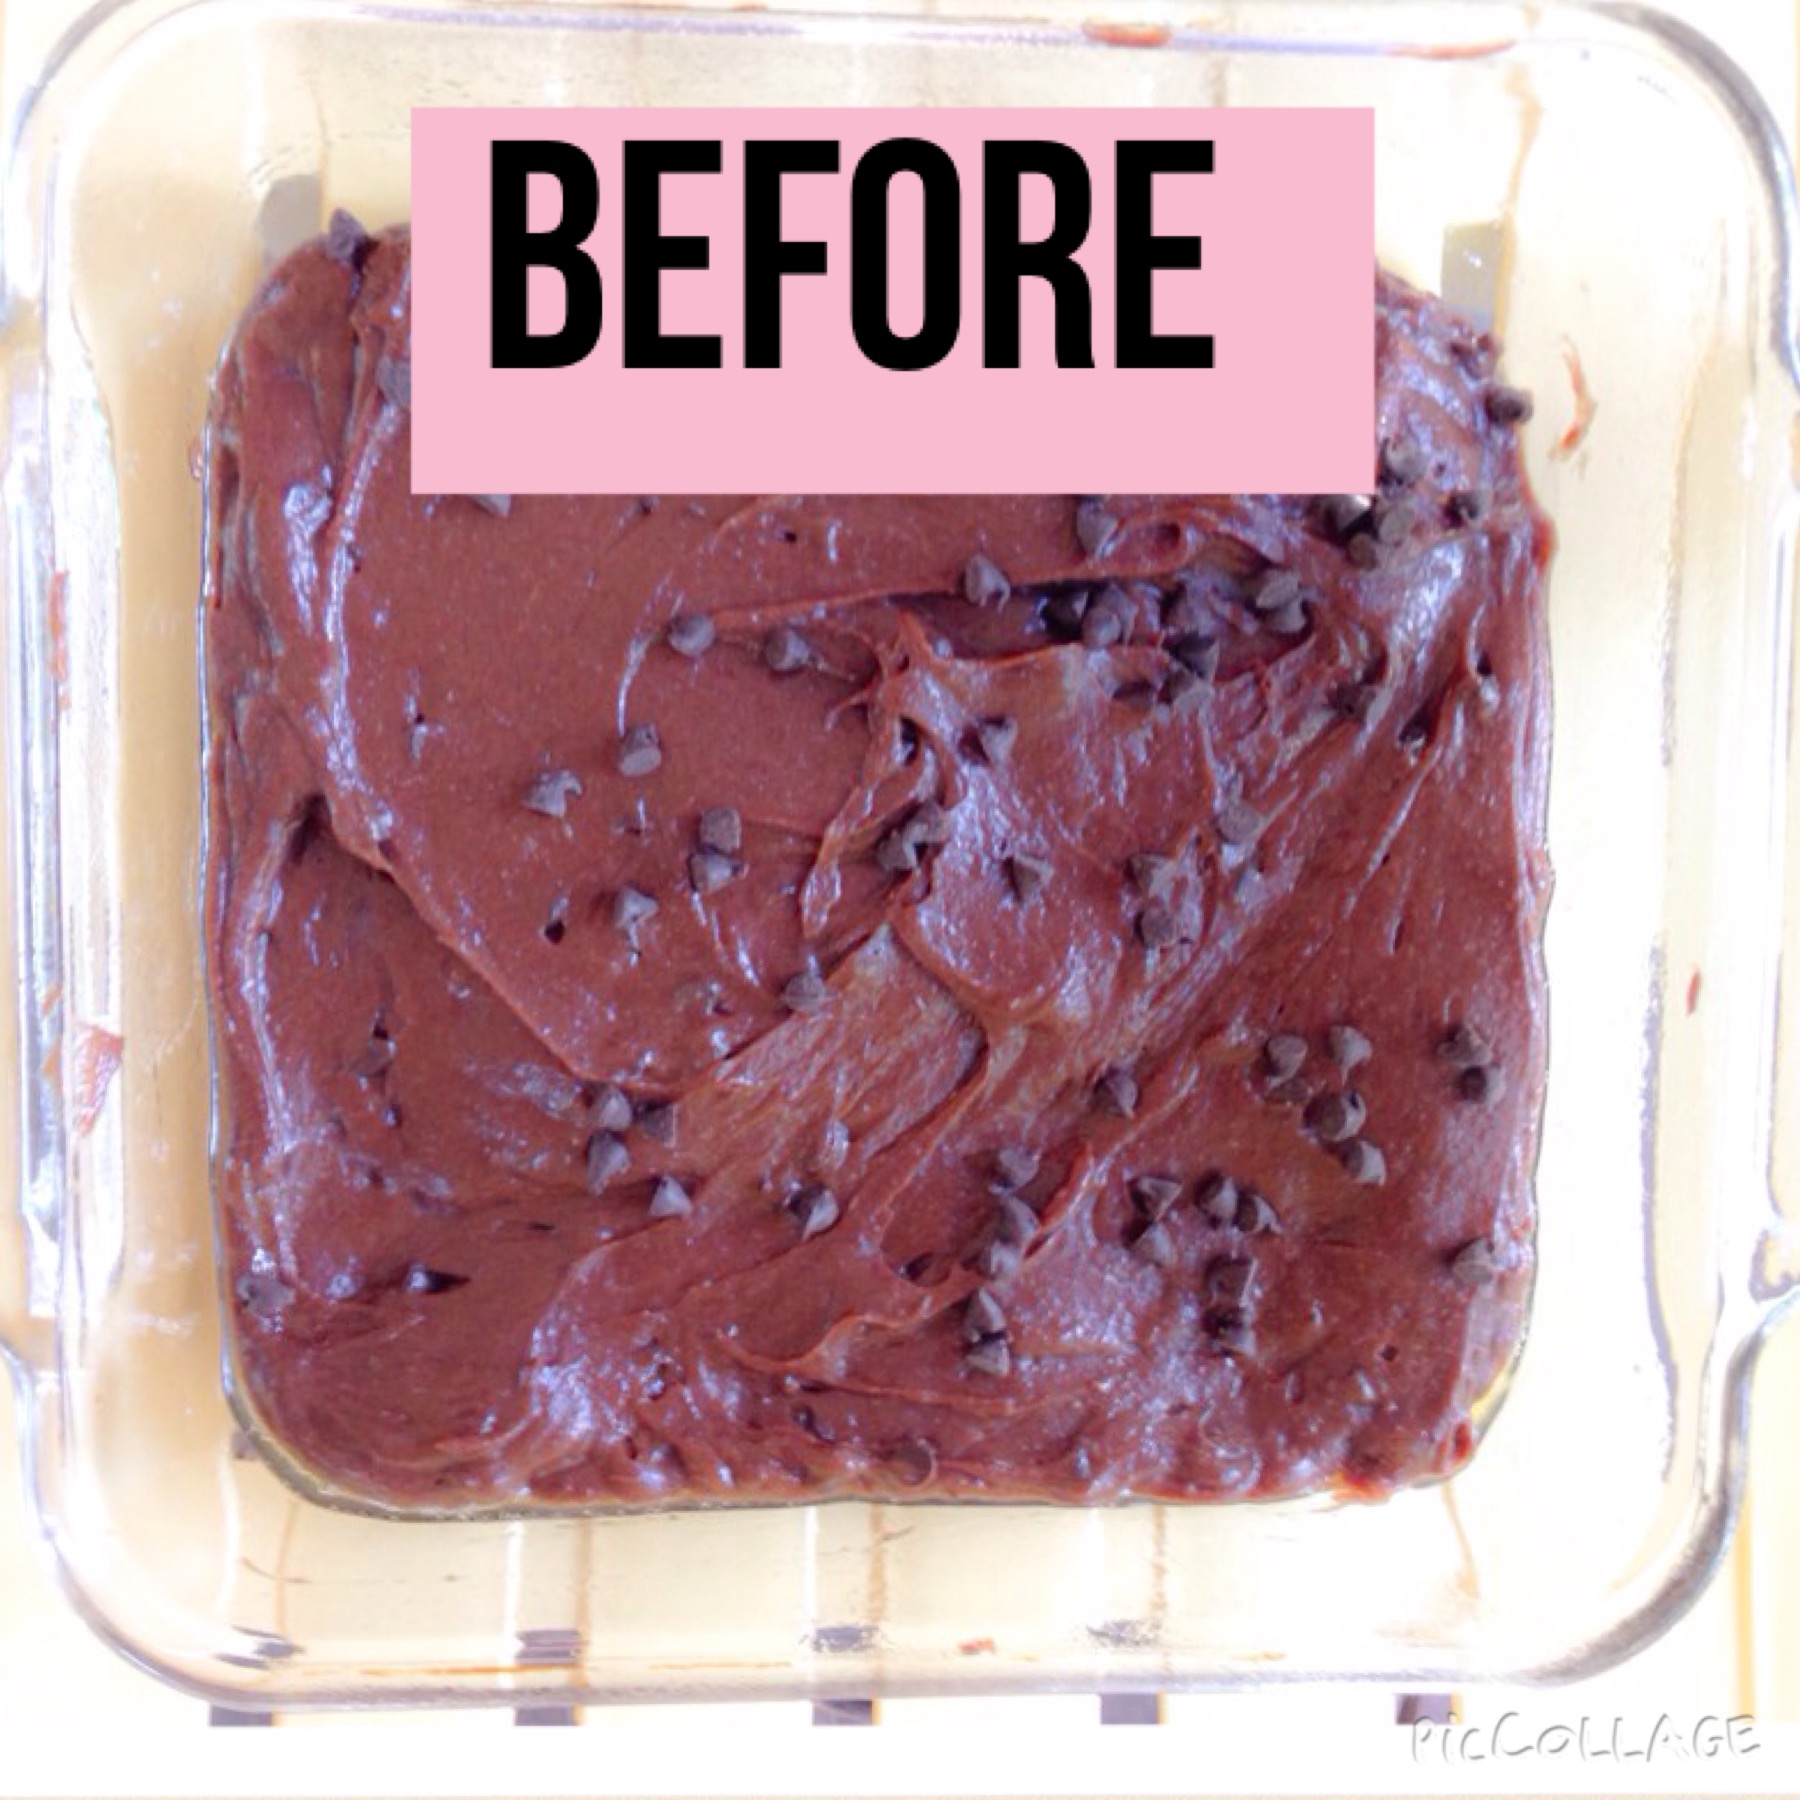
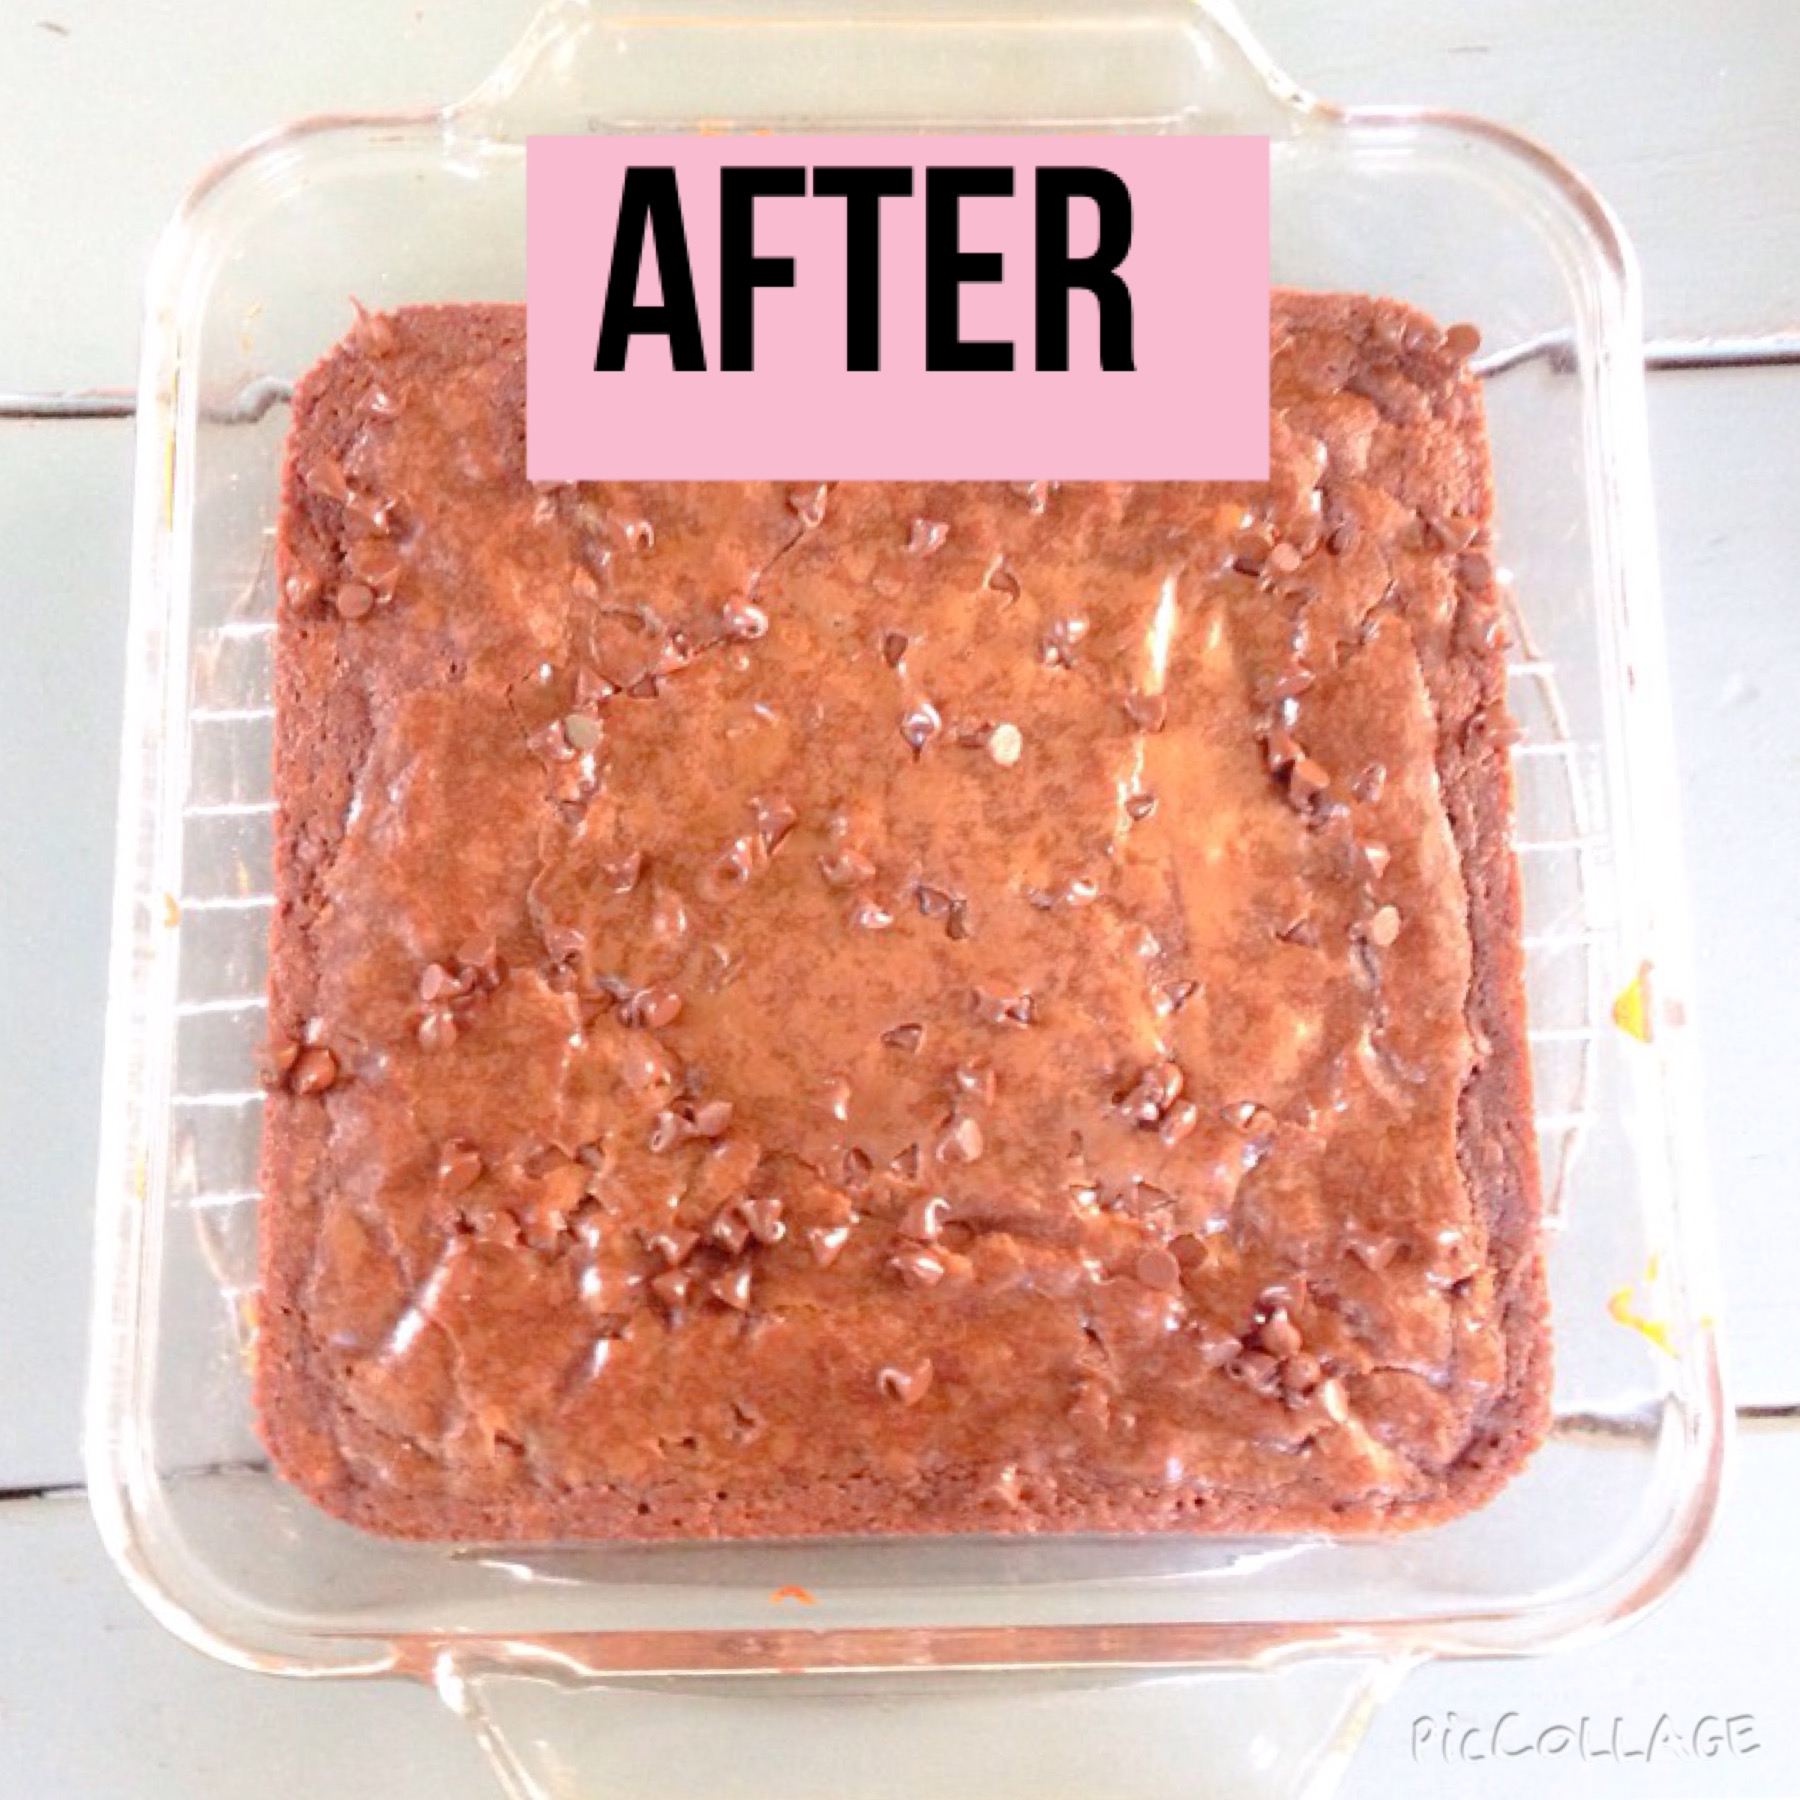
  3. Transfer the mixture into a bowl and stir in the sugar. Then, beat in the flour, salt, and vanilla. I like to fold in chocolate chips, just to make it more decadent. Pour and scrape the mixture into the prepared pan and I like to add a couple more chocolate chips over the top. Then, bake for 20-25 minutes, or until just barely set in the middle. It’s better to underbake brownies, then to overbake them. Next, cool them on a cooling rack  before cutting. Store, covered and at room-temperature, for no more than a day.

image1 (3)                        image2 (1)

We hope you enjoyed these brownies, just as much as we do!

— Lots of love, Sydney and Nana ❤

Coffee Cakes Made Easy!!

BlogmixBlogcake
How cool would it be if you could make a “fancy” and delicious coffee cake out of an inexpensive cake mix?  When I was little, my Mom made streusal cake from the Jiffy box mix all the time and it was always a treat.  Start with the white cake mix shown and mix and follow the directions on the box.  After pouring into a single greased cake pan, sprinkle with the topping that follows:

1/4 c brown sugar

1 tbsp cold butter

1/4cup “instant” oats

1 tsp cinnamon

Combine all the above, forming a crumble, and sprinkle evenly over the batter.  Bake according to package directions.  Serve slightly warm or, if preferred, cool completely.

So there you have it! A beautiful coffee cake that looks like it’s something you spent hours on. Be proud to serve it at any occasion! Enjoy 🙂

Love all around,
S & N

Pies and Pie Birds

<img

image

Nana: Sydney and I love to make pies together. One day when we were rolling out pie crust, I told her that many years ago, it was fashionable to use pie birds.  These are glass birds placed in the center of the pie as a steam vent.  These were popular In England and the settlers and pioneer women brought this tradition to America.  At the time, this was just an interesting little anecdote to share with my sweet baking partner.  I had no idea she would even remember our conversation. 


Sydney: I was so excited when My Nana talked to me about the pie bird because I had the perfect idea for a gift. Weeks later, we decided to plan a trip to Tennessee to visit my dad’s parents. When we got there we visited a couple shops. At one of them,  I spotted a table that was labeled “PIE BIRDS”. I was so thrilled! I asked my mom if she thought my Nana would like one, my mom said absolutely! I got her one. She was sooo excited! She and I ended up using it in our next pie! It worked so well! I totally encourage you to get one if you like to bake pies as much as we do.

Amazing Recipes, Amazing Friendship

Dear fellow bloggers,

Just yesterday, I got an amazing cookbook called The Easy Way Baking, a book of recipes published by Love Food.  My dear Aunt Terry (we share a love of cooking and entertaining) gave it to me as a belated birthday gift, and what a special gift it is!  I just adore the wonderful, mouthwatering recipes that are in this cookbook. I hope you enjoy it just as much as I do!:)


Cinnamon Star Cookies,

2 egg whites

1 1\3 cups confectioners’ sugar, plus extra for dusting {hahaha}

3 cups of ground hazelnuts, roasted

1 tablespoon ground cinnamon

Makes 20 cookies

1. Beat the egg whites in a clean grease-free bowl until stiff.  Stir in sugar until thoroughly combined, then continue to beat until thick and glossy. 

2. Remove 1/4c of this mixture and set aside.  Then fold the hazelnuts and cinnamon into the remaining mixture to make a stiff dough.  Chill in the refrigerator for an hour.

3. Preheat the oven to 275′.  Line two baking sheets with parchment paper.  Roll out the dough to 1/2″ thick on a surface amply dusted with confectioners’ sugar.

4. Cut the dough into shapes, using a 2″ star-shaped cutter, dusting with confectioners’ sugar to prevent the dough from sticking.  Reroll as necessary until all the mixture is used.

5. Place the cookies on the prepared baking sheets, spaced well apart, and spread the top of each star with the reserved egg white icing.

6. Bake in the preheated oven for 25 minutes, or until the cookies are still white and crisp on top, but slightly soft and moist underneath. Turn off the oven and open the door to release the heat and dry the cookies out in the oven for 10 more minutes. Transfer to wire cooling racks to cool completely.

We hope you love them!!

Sydney<3 and Nana 🙂


Everything’s Better with Oreos

This summer my cousin, Lindsay, came out from San Francisco for her graduation gift. We shared so many smiles, laughs and tips for wonderful baking ideas. While she was here, we made these amazing little Oreo balls. Let me tell you, they were delicious! Here’s the recipe, I hope you enjoy them as much as I did! Don’t forget, make them with the help of an adult.


Oreo balls:

1 package of Oreos

1 bar of Kroger cream cheese, softened at room temperature (not melted)

1 block of Kroger Baking Chocolate


First, blend the whole package of Oreos in a food processer, until crumbled. Then, with your hands, mix in the whole bar of Kroger cream cheese. Mix until the Oreos are fully mixed in with the cream cheese. After mixing, form the mixture into medium-sized balls. Finally, stick them into the freezer for 24 hours. After 24 hours, melt the block of the Kroger baking chocolate and dip the balls into the chocolate. Then let them set in the freezer. Take them out, and enjoy!

Enjoy,

Sydney and Nana<3

P.S.  Who knew a no-bake recipe could be so easy and sooooo delicious!   

Rainbow Cupcakes with Frosting

This week I have been attending a cooking camp to learn more about this wonderful subject. My Chef, Chef Liz has taught me a lot about cooking and baking, she has a lot of amazing tips. This is a recipe that she taught me to make and I love it. During these hot summer months, stay in, stay cool, go to the pool a lot, but mostly BAKE!! Hope you enjoy!  Sydney<3

Make this recipe as a special treat for a 4th of July picnic!  Use red, white and blue food coloring instead of the rainbow.  Top with a star or a small flag.  Enjoy Independence Day. Nana 🙂 

For the Cupcakes:                                                 For the Frosting:

You Will Need:                                                      3-4 cups powdered sugar

1 cup (2 sticks) butter, softened                           1/2 cup butter (not softened) 

1 cup superfine sugar                                           1 tbsp. milk 

1 tsp. vanilla extract                                               lemon juice, scant  

5 eggs

2 cups sifted all-purpose flour

3 tsp. baking powder

red, orange, yellow, green and blue food coloring

First, preheat your oven to 350 degrees. Then, put the flour, and baking powder into a bowl and mix. Next, cream the sugar, vanilla, and butter together with an electric mixer until light and fluffy. Then, slowly, add in the dry ingredients, still mixing. Mix until light and creamy. Then, separate the batter into five different bowls. Put, about six drops of one of the colors into a bowl and mix until the color is bright and visible. Do the same with each bowl. Spoon a small amount of each color (red, orange, yellow, green, then blue) into each paper-lined cupcake pan. Put these in the oven for 20-30 minutes or until cooked thoroughly. Frost and enjoy!

Sydney<3 and Nana:)      

Pumpkin Brownie Cupcakes

Hi again bakers,

I wanted to share this awesome recipe with you. It’s a recipe that I feel goes well with coffee or tea. Now this recipe can be done as cupcakes or muffins it really depends on your style. I hope that you know that I love adding things to recipes, so please feel free to add as you go and don’t feel shy to comment your additions. We’d love to hear from you.


You Will Need:

1 box of Betty Crocker’s Devil’s Food Cake Mix

1 whole can of Libby’s Canned Pumpkin

Preheat the oven to 400 degrees. Pour the whole cake mix into a large bowl then, spoon in the pumpkin while mixing. Stick these in the oven for 20-30 minutes or until cooked thoroughly. If you’d like top these with this frosting:

You Will Need:

1/2 cup butter

2 cups of Confectioner’s Sugar

1/8 teaspoon vanilla

With a mixer, mix tell smooth.

Hope you enjoyed,

Sydney<3

Mocha Chocolate Pepperment Tea

Dear bakers,

This is a special recipe that my mom thought of. Now a lot of you probably drink coffee in the morning or at night, or both! This is a special tea that will not only relax you, but it will give you a wonderful “dessert”. Try this and let me know what you think, please feel free to add a comment and let me know if there are any additions that you think would make it better. Thx!

Mocha Peppermint Tea:

You will need:
1 packet of Mighty Leaf Organic Mint Melange Tea
2 tablespoons of Coffee Mate Natural Bliss chocolate coffee creamer
A swirl of Blossom Dark Chocolate Mocha whipped cream (save for on top)

First, heat some water in a glass coffee mug for about one minute and fifteen seconds. Then, place the tea bag in the hot water for maybe 20-30 seconds, take the tea bag out of the mug and squeeze the tea bag out to check for access water. Then, pour 2 tablespoons of coffee creamer into the tea and stir for 10-15 seconds. After that, lastly swirl the whipped cream on top of your tea. There you have it! A wonderful tea dessert made in only 5 minutes.

Happy Steeping,
Sydney<3

Just Desserts

Dear Fellow Bloggers,
We have a business that we have been working on, called Just Desserts! If you have any interest, email us at justdesserts1063@yahoo.com. We’d love it if you bought from us! We sell cupcakes, cookies, cakes, and other delectable desserts, custom made in Aurora, Colorado. We’re trying to open up a bakery with funds from this, so that’s why we need your help! Don’t wait, email us now!
Happy Baking,
Sydney & Nana<3


These are  my Nana’s famous peanut butter cookies:

1/2 c butter

1/2 c peanut butter

1/2 c granulated sugar

1/2 c brown sugar

1 egg

1 1/4 c flour

3/4  tsp baking soda

1/2 tsp baking powder

1/4 tsp salt

Heat oven 375′.  Cream butter, peanut butter, sugars and egg.  Blend in flour, soda, powder and salt.  Shape dough into 1″ balls and place 3″ apart on a lightly greased baking sheet.  Flatten with a fork dipped in flour, making a criss-cross pattern.  Sprinkle with sugar.  Bake 10-12 minutes until set but not hard.

Eat and enjoy!  (These freeze well too.)

Halloween is Finally Here!!

YES! I love Halloween. It is so fun to look at people’s funny costumes when they walk by.
Getting free candy without even paying a cent is pretty good, as long as you don’t get a stomach ache! 😦   This year, I decided to be Hermione Granger from the Harry Potter series and my brother is Harry BTW.  Do you have a favorite part about Halloween? Tell us!!

$ydney*

Halloween is great!  Kids love having an excuse to dress up and eat candy!  So do grown-ups for that matter.  What’s not to like?!  A persisting memory is cold and wet weather.  I have visions of little ones with costumes stretched over puffy coats and make-up running down cold faces dripping with wet snow.  Doesn’t it seem that the weather is mild and beautiful until….Halloween.  Suddenly the temperature drops and, with it,  the hope for endless trick or treating.  The local weather media tell a different story.  They claim that there are fewer times it has snowed or rained on this special day than memory serves.  That being the case, the disappointment of cold weather must make a deep impression.  The good news is that the forecast for this Halloween is mild and dry, just the way we like it!  Sydney and I love this recipe for Halloween cupcakes from Cupcake Heaven by Jennie Milsom.  Enjoy…and BOO to you!

Nana

Halloween Cupcakes

3 eggs

3/4 c. extra fine sugar

1 1/2 c. all-purpose flour

2 tsp. baking powder

3/4 c.butter

Preheat the oven to 350’mmLine two 12 muffin pans with paper baking cups.  Mix all ingredients in a medium bowl.  Mix with an electric mixer for 3-4 minutes, until smooth.  Divide the mixture between all the cups.  Bake 15 minutes until golden brown and the center lightly springs back.  Cool on a wire rack.

Frosting

1 c. butter, softened

1 c. confectioner’s (powdered) sugar

3 tbsp. cocoa powder or a few drops of orange food coloring

1 tbsp. milk

orange and yellow sprinkles

Mix all ingredients in a large bowl until smooth.  Spoon into a frosting bag and pipe onto cupcakes.  Top with sprinkles.  Enjoy!